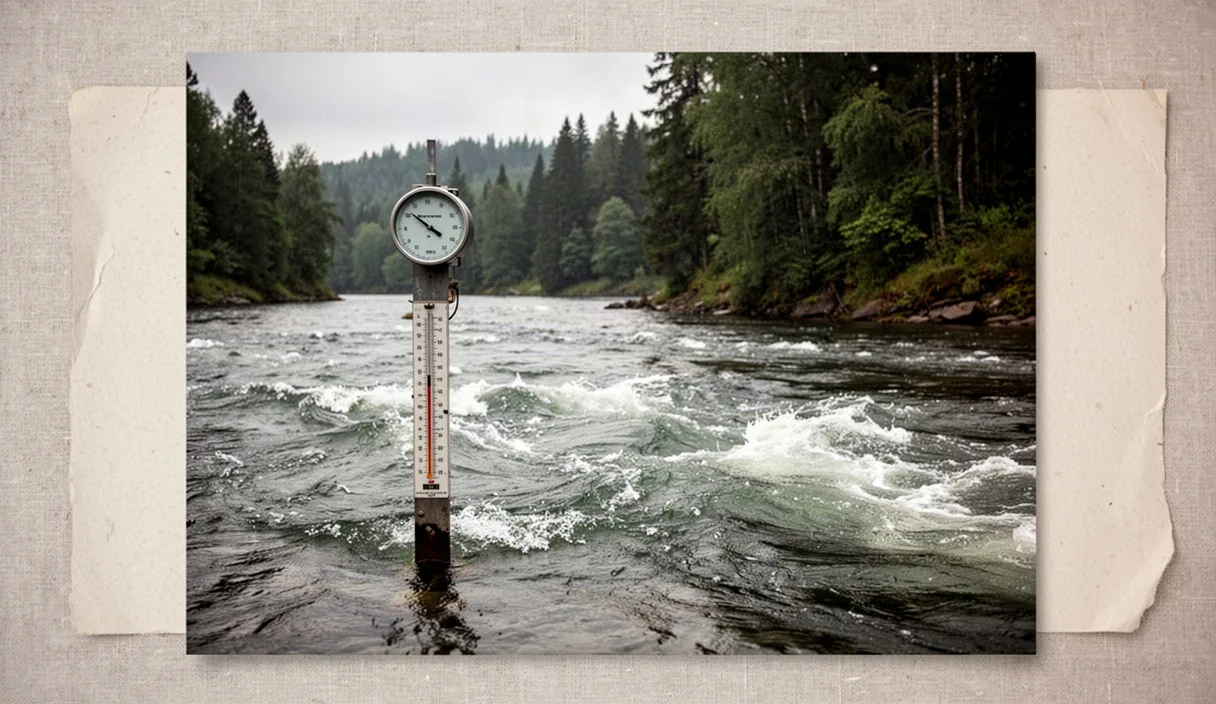
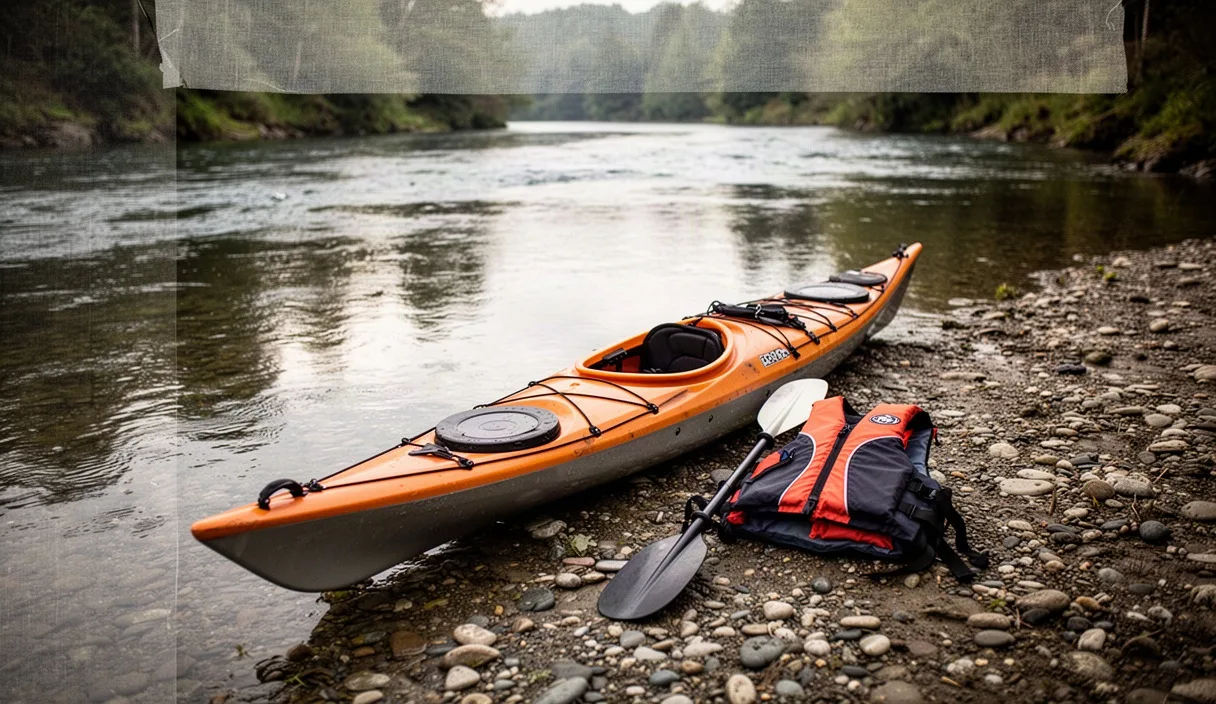
Moving water demands specific gear. Rivers carry obstacles, directional currents, and hidden hazards that flat lakes never present. Stepping into a kayak without river-rated equipment puts you at immediate risk of pinches, capsizes, and cold-shock immersion. Every single item inside your cockpit must serve an active safety or navigation function, fit your frame precisely, and remain functional when fully submerged.
River gear prioritizes body mobility and rapid access over high storage capacity. A standard recreational setup meant for calm ponds fails quickly in moving rapids, where seat clearance, paddle blade stiffness, and quick-release mechanisms decide whether you self-rescue or lose your equipment downstream. Assemble this starter inventory item by item, test each piece in calm current first, and inspect structural stitching before every launch.
Select a Low-Profile Personal Flotation Device
Choose a Type III or Type V life vest approved by the United States Coast Guard or your regional maritime transport authority. Look for vests rated with minimum inherent buoyancy between 15.5 and 16.5 pounds for adults. Whitewater and river-running life jackets feature deep arm cutouts and thin foam profiles across the chest. This cut stops the vest from riding up into your chin when you execute rapid forward, draw, or brace strokes.
High-back foam placement is mandatory for sit-in or sit-on-top river kayaks equipped with raised backrests. If foam runs down the full length of your spine, the kayak seat back will shove the vest forward and up around your neck, breaking your posture and choking off airflow within twenty minutes of paddling. River vests mount the rear foam high along the shoulder blades, leaving a mesh panel across the lumbar zone to sit flush against the backband.
Fasten the vest using a bottom-to-top sequence. Loosen all side straps before putting the vest on. Zip the central track or clip the side-entry buckles, then cinch the lowest waist belt firmly around your abdomen just above the hips. Tighten the rib straps next, and pull the shoulder tensioners last. Have an assistant pull straight up on the shoulder straps; if the vest slides up past your ears or chin, loosen the shoulders, tighten the bottom waist strap two notches deeper, and re-cinch.
| Vest Style | Buoyancy Rating | Primary River Benefit | Best River Class |
|---|---|---|---|
| Standard Type III Low-Profile | 15.5 to 16.5 lbs | Maximum torso rotation, lightweight foam | Class I to Class II |
| Rescue Type V with Harness | 16.5 to 22 lbs | Built-in quick-release chest ring for tethered rescues | Class II and above (trained users) |
| Recreational High-Back | 15.5 to 17 lbs | Eliminates seat friction, mesh lumbar ventilation | Class I touring rivers |
Choose Paddle Length and Blade Feathering
Match your paddle length to both boat width and torso height instead of overall standing height. River-running kayaks are wider than flatwater touring hulls, typically spanning 25 to 28 inches at the beam. A paddler under five feet eight inches in a standard river kayak needs a paddle between 197 and 200 centimeters. Paddlers between five feet eight inches and six feet one inch need a 200- to 204-centimeter paddle. Paddlers taller than six feet one inch require 204 to 208 centimeters. Shafts longer than 210 centimeters slow down your stroke turnover and strike river rocks on shallow eddy turns.
Select asymmetrical nylon or fiberglass blades paired with a straight or neutral-bent shaft. Symmetrical lake blades create flutter when pulled aggressively through boiling eddy lines, forcing you to overgrip the shaft and fatiguing your forearms. Asymmetrical blades balance water pressure across the face of the blade, keeping purchase steady as you pry away from river obstructions.
Set blade feathering between 0 degrees and 30 degrees for moving water. Traditional flatwater feather angles of 45 to 60 degrees reduce wind resistance across long crossings, but moving water requires fast, instinctive cross-deck braces where a heavily feathered blade will catch water at the wrong angle and flip your boat.
- Unfeathered (0 degrees): Both blades sit on the exact same plane. Best for beginners because both wrists stay neutral, eliminating wrist roll during emergency support strokes.
- Low offset (15 to 30 degrees): Reduces wind drag on the out-of-water blade during headwind sections while keeping emergency rolling and bracing strokes easy to orient without looking at your grip.
- High offset (45 degrees and up): Avoid on rivers until high-angle paddle strokes become automatic muscle memory. Increases risk of catching the downstream blade on turbulent boils.
Organize Waterproof Dry Bags by Density
Trim the balance of your kayak by packing heavy gear deep inside the center of the hull. Placing heavy items in the extreme tips of the bow or stern creates high swing weight, which makes the boat sluggish when spinning into eddies or breaking through lateral waves. Tapered dry bags engineered specifically for river kayak stern compartments allow gear to sit close to the main bulkhead behind your hips.
Sort supplies into dry bags manufactured from 210-denier to 500-denier ripstop nylon coated with thermoplastic polyurethane (TPU). Clear vinyl dry bags crack in cold river water, while ultra-thin silnylon bags shred when abraded against internal plastic cockpit ribs or fiberglass seams. Use roll-top closures with a built-in purge valve to squeeze out excess air, which stops the bags from swelling and blocking your access to bulkhead hatches.
- Heavy essentials at the keel: Pack tools, water filtration pumps, spare liquid containers, and dense food rations flat on the hull floor directly behind the seat.
- Mid-density items in stern tapers: Stow first-aid kits, bivy sacks, and cook kits inside wedge-shaped stern bags tucked directly against the center pile.
- Lightweight emergency warm layers: Pack fleece tops, wool socks, and windproof outer shells into bright red or yellow dry bags positioned at the top of the rear hatch for rapid access without shifting heavy items.
- Day essentials in a bow bag: Keep your river map, polarized sunglasses, sunscreen, and high-calorie food inside a five-liter dry bag clipped to the forward internal cockpit pillar, clear of your foot pegs.
Secure Emergency Whistles and Throw Bags
Fasten a pea-less whistle directly to the lash tab or shoulder strap of your life vest using a two-inch loop of 2-millimeter cord. Traditional whistles containing a small plastic ball fail when wet; the ball sticks to the interior chamber and muffles the sound. Pea-less whistles clear water instantly upon blowing and generate between 110 and 120 decibels, piercing through roaring river rapids and riverbank wind. Never attach your whistle to a long neck lanyard, which forms a lethal snag hazard if you swim out of your boat near downed trees or river strainers.
Carry a swiftwater throw bag packed with 50 to 70 feet of floating polypropylene or Dyneema core rope measuring 1/4-inch to 5/16-inch in diameter. Polypropylene floats naturally on the surface, keeping the line visible to a swimming paddler and clear of underwater boulders. The throw bag must remain inside the cockpit between your calves or strapped to a dedicated, quick-release perimeter rail. Never tie a throw bag into the kayak with an ordinary knot; use an open cam buckle or release ball so you can yank the bag loose with a single pull from your seated position.
Practice the throwing and coiling sequence on dry ground before taking the line near a river:
- Open the drawstring throat completely and pull two feet of slack rope out of the top.
- Grip the top loop firmly in your non-throwing hand, planting your feet in a staggered, braced stance behind a solid rock or bank edge.
- Throw the bag underhand directly past the swimmer's chest, letting the rope pay out smoothly from inside the flying bag without gripping the body of the cord.
- If you miss the swimmer, never attempt to restuff the wet rope into the bag. Instantly coil the wet line into four-foot butterfly loops across your open hands, scoop river water into the empty bag for ballast, and throw the butterfly coil on a secondary attempt.
Throw ropes create dangerous entanglement loops when deployed incorrectly. Take an accredited river safety course to master mechanical advantage systems, live-bait rescues, and entrapment avoidance before treating a throw line as a primary rescue solution.
Dress for Water Temperature Rather Than Air
Calculate your thermal immersion barrier using the water temperature, ignoring warm ambient air. A sunny spring day with 75-degree air often features mountain runoff water running at 48 degrees. An unexpected swim in sub-55-degree water causes an involuntary gasp reflex, uncontrollable hyperventilation, and rapid loss of finger dexterity within three to five minutes. Hypothermia sets in long before you can swim your boat to shore if you dress only for the sun.
Use the combined temperature rule of thumb: if the water temperature added to the air temperature equals less than 120 degrees Fahrenheit, wear a thermal wet suit or an impermeable drysuit. A 3-millimeter neoprene "Farmer John" sleeveless suit paired with a windproof paddling jacket works well for water temperatures between 58 and 65 degrees. For water temperatures below 55 degrees, an enclosed drysuit equipped with latex or tight neoprene neck and wrist gaskets is required to keep water entirely away from your thermal underlayers.
Layer underneath drywear using synthetic polyester fleece, polypropylene, or medium-weight merino wool. Avoid cotton completely. Cotton fibers absorb up to twenty-seven times their dry weight in water, collapse their insulating air pockets, and pull heat away from your skin twenty-five times faster than still air. Wear 3-millimeter to 5-millimeter neoprene river booties with thick vulcanized rubber outsoles. River beds are lined with broken shale, submerged branches, and industrial scrap that easily puncture thin water socks or bare feet when scouting rapids.
Common Mistakes
- Using ankle or paddle leashes: Flatwater paddle leashes wrap around underwater limbs and rocks in moving current, pinning the paddler below the surface. Keep paddles tether-free on rivers.
- Overloading the deck with gear: Deck bungees holding bulky dry bags, water bottles, and spare shoes catch the current during a flip, dragging the kayak sideways and preventing easy hip-snap rolls.
- Leaving grab handles broken or untied: Kayak toggle handles on the bow and stern must support the full weight of a flooded boat. Inspect them for UV decay; frayed ropes snap during rescue attempts.
- Skipping helmet protection in rocky runs: Even low-gradient Class II streams feature submerged limestone ledges. Wear an impact-rated, non-recreational watersports helmet that protects the temples and base of the skull.
Practical Next Steps
Assemble your basic kit starting with the life vest, paddle, and pea-less whistle. Fit the vest indoors while wearing your intended base layers and water booties to confirm that the straps cinch fully down without pinching your skin. Sit inside your kayak on a flat lawn or living room floor; verify that the rear foam block clears the seat back completely and that your elbows clear the side panels during normal torso rotation.
Book an entry-level river safety clinic through a certified paddling organization such as the American Canoe Association or British Canoeing. Qualified instructors teach wet exits, aggressive swimming in moving current, and ferry-angle crossing techniques in controlled environments. Run your maiden river trip on a familiar, slow-moving Class I current with a minimum group size of three paddlers, keeping your gear inventory compact, strapped securely below decks, and strictly adapted to the local water temperature.