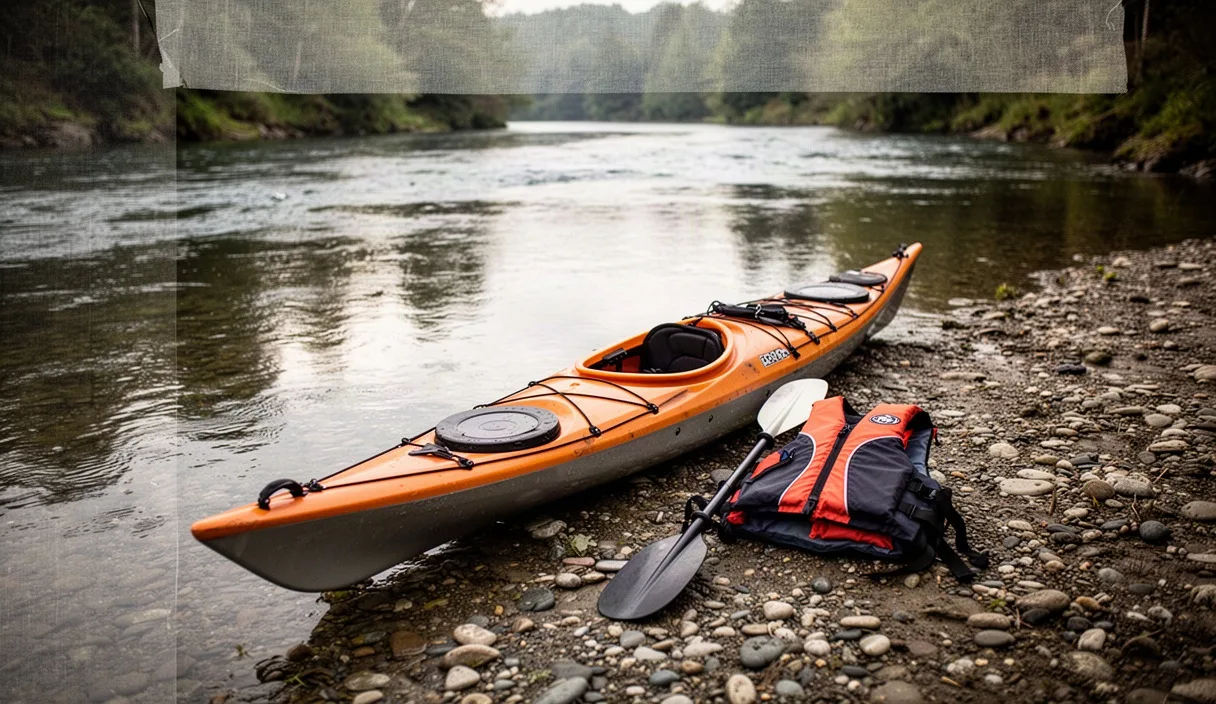
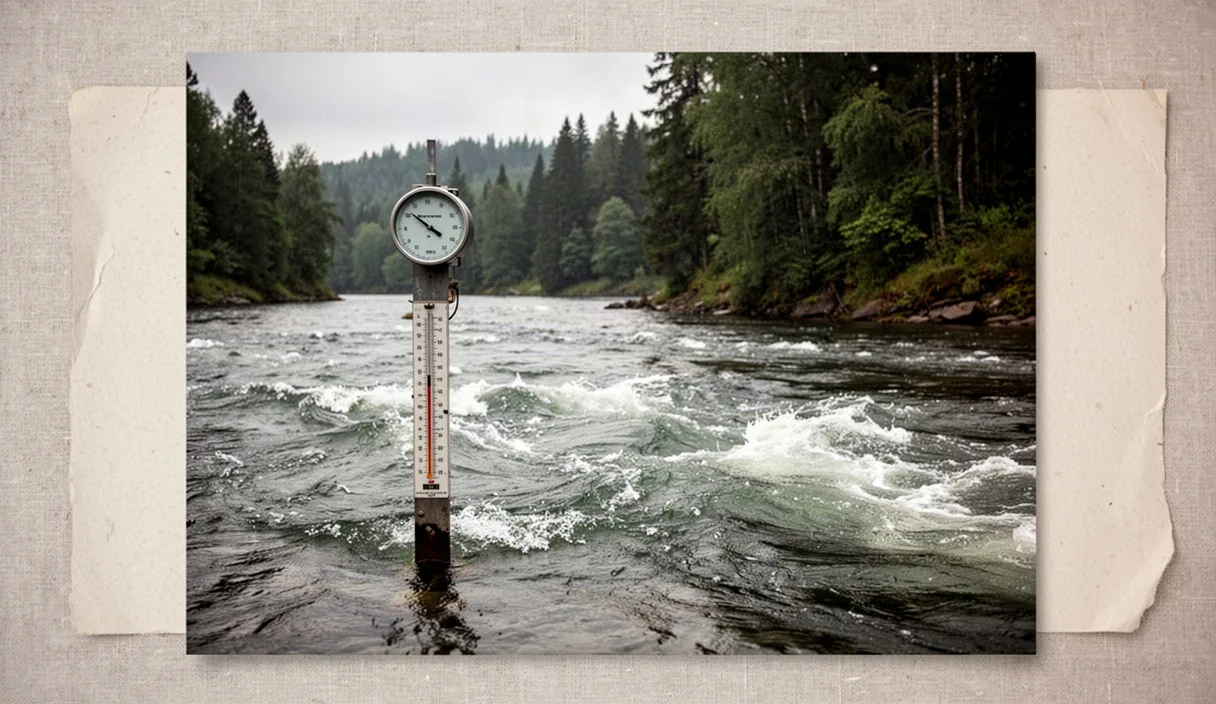
Check the gauge before loading boats. Moving water changes character completely within a four-inch rise, turning an easy morning float into a continuous obstacle course of sweepers, pinned hulls, and washed-out eddies. Weekend paddlers often look at weekend weather forecasts while ignoring the hydrological monitoring stations that measure what is actually happening in the riverbed. Rain that fell three days ago twenty miles upstream determines your river speed today.
Every river run requires hard numbers. You need discharge volume in cubic feet per second, current stage height, and the trend line over the past forty-eight hours. Combining public river gauge readings with high-resolution satellite checks gives you a realistic picture of water force, hazards, and portage spots before your paddle hits the water.
Locate Public Hydrological Gauge Data
Find the exact monitoring station tied to your stretch of river. In the United States, the United States Geological Survey (USGS) operates the National Water Information System, which provides real-time telemetry across thousands of waterways. State departments of natural resources and river basin commissions also maintain localized sensors. In Canada, look to the Water Survey of Canada real-time hydrometric data system.
Do not rely on a gauge located forty miles away or below three major dam-controlled tributaries. A gauge ten miles downstream from your take-out point can give a false reading if several large creeks feed the river between your run and the sensor. Look for a gauge situated on your specific reach, ideally between your planned put-in and take-out points, or immediately upstream.
To pull and verify actionable station numbers, run through this sequence:
- Identify station IDs: Open the USGS National Water Dashboard or equivalent state interface. Search by watershed drainage name rather than town name. Save the seven-digit to ten-digit station ID numbers directly into your phone notes.
- Verify update frequency: Most USGS streamgages transmit data every hour via satellite, though flash-flood-prone zones may update every fifteen minutes. Check the timestamp on the reading. An unserviced gauge showing data from thirty-six hours ago is useless for trip safety.
- Assess the hydrograph curve: Look at the discharge graph for the past seven days. A steep vertical climb indicates recent storm runoff that will carry debris and cloudy water. A flattening, descending curve indicates clearing water and stabilized currents.
- Cross-reference with reservoir releases: On tailwater rivers controlled by the Army Corps of Engineers or private utilities, rainfall data takes second place to scheduled dam releases. Check the operating utility dam discharge board for daily release schedules in cubic feet per second (cfs).
Translate Gauge Height into Water Velocity
Gauge height measures depth above an arbitrary datum, not raw water speed. A reading of four feet on a gauge might mean a lazy float on a river that runs three hundred feet wide, but that same four feet could generate torrential current through a forty-foot bedrock canyon. The critical number to evaluate alongside gauge height is volume discharge, measured in cubic feet per second (cfs) or cubic meters per second (cms).
Water velocity results from discharge divided by the cross-sectional area of the river channel. When river volume doubles, water velocity does not merely double; it concentrates along the thalweg, which is the deepest, fastest continuous channel of the run. Deep, narrow channels accelerate water rapidly with minor volume increases, while broad floodplains absorb additional volume with modest increases in velocity.
| Discharge Level (Mid-Sized River, 70-120 ft Wide) | Observed Water Behavior | Average Current Speed | Handling Characteristics |
|---|---|---|---|
| Under 250 cfs | Beds exposed, gravel scraping, shallow pools | 0.5 to 1.2 mph | Constant boat dragging, slow progress, low risk of entrapment |
| 300 to 750 cfs | Clear main channel, defined riffles, rocks exposed | 1.5 to 2.8 mph | Predictable eddy lines, easy maneuvering for tandem canoes and rec kayaks |
| 800 to 1,800 cfs | Bank-full conditions, brown water, riffles wash out into standing waves | 3.2 to 5.1 mph | Eddies wash out, fast approaches to obstacles, defensive bracing required |
| Over 2,200 cfs | Water into tree lines, boiling boils, heavy debris loads | 5.5 to 8.0+ mph | High hazard level, self-rescue extremely difficult, abort trip |
Use local guidebook baseline ranges rather than guesswork. Most paddling guidebooks specify a minimum runnable flow, an optimal recreational window, and a flood cutoff stage for specific river reaches. If a local paddling club marks a river section as runnable between three hundred and eight hundred cfs, putting in at twelve hundred cfs means you are running a different, significantly more dangerous river.
Spot River Strainers and Downed Trees
High water levels drop live trees into the current by eroding outside river bends. A tree, root ball, or branch pile submerged in moving water acts as a strainer: it lets water pass through freely while trapping solid objects like boats and paddlers. Hydrostatic pressure from current moving at four miles per hour can pin a paddler against a submerged log with hundreds of pounds of continuous force, making self-rescue physically impossible without team intervention.
You can identify zones with high strainer probability from current flow patterns and bank geometry. Water carries its highest momentum into the outside of every turn. As a result, cut banks on outer bends suffer structural collapse, dropping heavy hardwood timber directly across the primary flow path. Shallow gravel bars on inside bends, by contrast, rarely hold deep enough water to trap wood in active current.
When running a river with timber hazards, use these defensive control strategies:
- Execute early back-ferrying: Point your bow toward the obstacle at a thirty-degree angle and paddle backward. This uses the current to move your hull laterally toward the safe inside gravel bar while scrubbing off forward speed.
- Read river horizons: If the river surface ahead appears broken by stationary ripples or an isolated plume of spray that does not move, treat it as a submerged log. Give it wide clearance on the upstream side.
- Never grab branches: If your craft gets swept sideways against a log, do not lean back or grab overhead branches. Leaning upstream catches the water on your deck, flipping the hull instantly and sweeping you underneath the log. Always lean toward the obstacle to keep your upstream gunwale high.
- Scout blind bends: If an outside bend curves sharply out of sight and the current accelerates down a narrow chute, pull onto the inside gravel bar. Walk ahead on foot to confirm the corridor is clear of fallen trees before committing your boat.
Identify Low-Head Dams on Satellite Imagery
Low-head dams are the deadliest artificial structures on recreational waterways. Often called drowning machines, these weir structures drop water anywhere from eighteen inches to twelve feet. The falling water creates a recirculating hydraulic backwash at the base that pulls floating objects back into the face of the dam repeatedly. From upstream, a low-head dam is almost invisible because the flat pool behind it mimics a normal river horizon.
Modern satellite imagery lets you find these hazards before leaving your house. Look for distinct physical signs along the entire length of your planned route using high-resolution aerial layers:
- A ruler-straight cross-river line: Natural river ledges are jagged, diagonal, or irregular. If you see a line spanning the river bank-to-bank at a ninety-degree angle to the flow, it is almost certainly a man-made weir or utility sill.
- Upstream pool flattening: Low-head dams back water up for miles. If a free-flowing, winding river suddenly becomes abnormally wide, still, and uniform in width, you are approaching an impoundment.
- White froth lines below a clean edge: A persistent band of aerated white water directly parallel to a straight line indicates an active boil line and hydraulic roller.
- Associated industrial infrastructure: Look for old brick mill buildings, canal bypass cuts, gravel intake works, or concrete abutments on either bank. These historical structures nearly always featured an adjacent weir to divert water power.
Mark every identified dam on your route map as a mandatory portage. Measure the distance from the nearest upstream bridge or road access so you know your approach markers. Never attempt to run a low-head dam, regardless of flow stage or watercraft type.
Establish Firm Abort Points on the Route
Every float trip plan needs predetermined exit points where you can leave the water if conditions deteriorate, gear fails, or the flow runs faster than expected. Relying on an emergency exit through steep, brush-covered private bluffs can lead to trespass disputes or severe injuries during a medical evacuation. Map your bail-out options before you drive to the put-in.
To set up functional abort points along your river segment, use these criteria:
- Select road-adjacent rights-of-way: Identify public bridge crossings, county road culverts, and state-managed fishing easements along the route. Bridges generally offer public right-of-way access under the road deck, allowing you to walk boats up the embankment to the shoulder.
- Calculate split-run mileage: Divide your overall run into distinct segments of three to four miles. Note the expected arrival time for each checkpoint based on a realistic downstream speed of three miles per hour. If you hit your second abort point two hours behind schedule, exit the water there rather than pushing into the late afternoon.
- Check cell coverage maps: Hydrological gauge apps and satellite mapping platforms lose utility once you drop into deep river valleys. Download offline topo maps of your route and confirm which bridge crossings sit within known mobile cellular coverage corridors.
- Inspect bank gradients remotely: Use aerial topographic layers to evaluate the bank angle at potential exit sites. A bridge with a forty-five-degree riprap boulder slope or concrete vertical abutment is dangerous to haul gear up in wet footwear. Pick points with low gravel banks or gentle grass easements.
Common Mistakes
The most frequent errors paddlers make with river flow data come from misinterpreting raw numbers:
- Assuming gauge height matches water depth everywhere: A four-foot gauge height does not mean the entire river is four feet deep. Shallow gravel bars may only carry six inches of draft, while mid-river scour holes can reach fifteen feet.
- Checking the gauge only once: Checking water data on a Thursday night for a Saturday morning run leaves you blind to intervening storm fronts, agricultural runoff, and industrial upstream releases. Check the numbers twelve hours before departure, and again on your phone right at the put-in.
- Failing to account for water temperature: High flows in early spring carry water temperatures in the forty- to fifty-degree range. At these temperatures, capsize events quickly lead to cold shock and muscle failure. High flow combined with cold water requires drysuits, neoprene gear, and professional-grade safety equipment, not standard summer attire.
- Ignoring localized tributary inputs: A storm cell that stalls over an unmonitored tributary creek can double the flow of the main river stem within two hours, even if the primary upstream gauge shows flat numbers. Scan regional radar trends for the entire drainage basin, not just the gauge site.
Next Steps for Trip Planning
Pull up the map of your intended river section today. Locate the nearest active streamgage using the USGS National Water Dashboard or your regional equivalent, and document the flow rate for the past seven days to understand the current seasonal trend. Mark your put-in, planned take-out, and at least two intermediate abort points with accessible public right-of-way.
Check satellite aerial layers for any straight-line horizon breaks, weir patterns, or large log jams across narrow chutes. If river discharge is climbing toward the upper limit of your watercraft's capability, reschedule your run for a descending hydrograph or pick a slower lake route instead. For paddling instruction or Swiftwater Rescue training, consult certified instructors through the American Canoe Association or equivalent national water-safety organizations.