Fifteen kilograms changes bike handling completely. A standard gravel bike weighs between 8.5kg and 10.5kg, which means a 15kg gear load more than doubles the mass moving beneath you. Steering slows down, braking distances expand by several bike lengths, and out-of-the-saddle climbs require tighter upper-body control. Distributing this mass incorrectly turns a responsive carbon or steel frame into a flexy, unpredictable machine on loose descents.
You cannot simply stuff everything into a mammoth saddle pack and hope for the best. Survival on multi-day gravel routes requires dividing the load into four distinct zones based on mass density and center of gravity. Treat the bicycle as a dynamic system where the lowest and most central points absorb the heaviest payloads, leaving the extremities light enough to track smoothly over washboard roads and technical gravel.
Map Weight Zones Across the Bike Frame
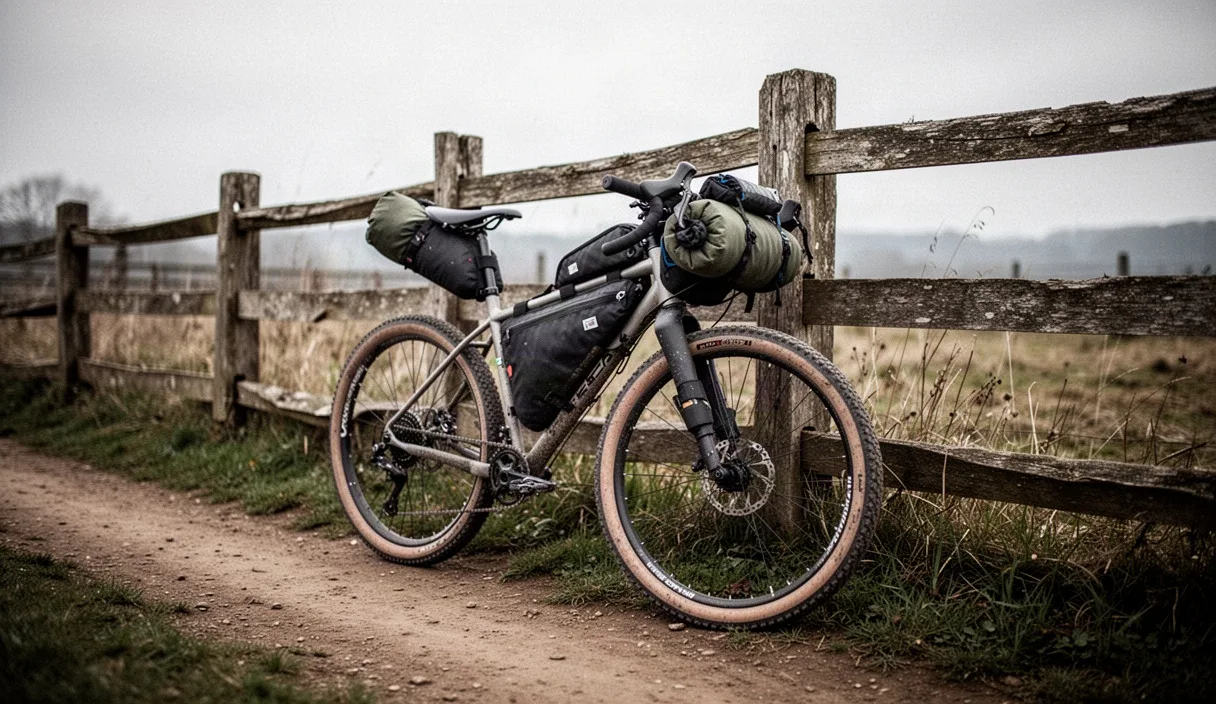
Divide the bike into three primary structural zones: central-low, front-high, and rear-overhang. The central-low zone, bounded by the main frame triangle and bottom bracket, is the sweet spot. It carries the heaviest cargo because mass placed here sits directly between the wheel axles and low to the ground. This minimizes the pendulum effect during cornering and reduces chassis flex when pedaling out of the saddle.
The front-high zone at the handlebar takes medium-density, high-volume items. Keep total weight at the bar below 3.5kg to preserve steering input. Excessive weight on the steering axis makes the front wheel flop into low-speed turns and overwhelms drop-bar brake hoods. The rear-overhang zone, housed inside a seatpack or mini-rack, should never exceed 4kg. High rear weight creates severe lateral sway that robs energy on climbs and swings the rear wheel wide on off-camber descents.
| Zone | Ideal Weight Range | Target Volume | Primary Contents |
|---|---|---|---|
| Frame Triangle | 4.5kg to 5.5kg | 6L to 9L | Tools, spares, battery packs, dense food, stove |
| Fork Legs (combined) | 2.5kg to 3.0kg | 3L to 6L | Water, fuel bottles, compact cooksets |
| Handlebar | 2.5kg to 3.2kg | 9L to 14L | Sleeping bag, bivy, insulated jacket, mat |
| Seatpack | 3.0kg to 3.8kg | 10L to 15L | Dry spare clothes, camp shoes, rain shell |
Balance the front-to-rear distribution at roughly 45 percent front and 55 percent rear. An unladen gravel bike usually sits near 40/60. Pushing extra weight slightly forward prevents the front tire from washing out on steep, loose climbs and stabilizes the bicycle across chunky gravel tracks.
Pack Dense Items in the Center Triangle
Select your frame bag based on frame clearance and water storage needs. A full-frame bag maximizes storage volume, providing between 6 and 10 liters of capacity depending on frame size. This requires running a hydration bladder inside the bag or moving water storage to the fork legs and downtube. If you run a half-frame bag to keep bottle cages inside the triangle, reserved volume drops to 3 or 4 liters, forcing dense weight outward.
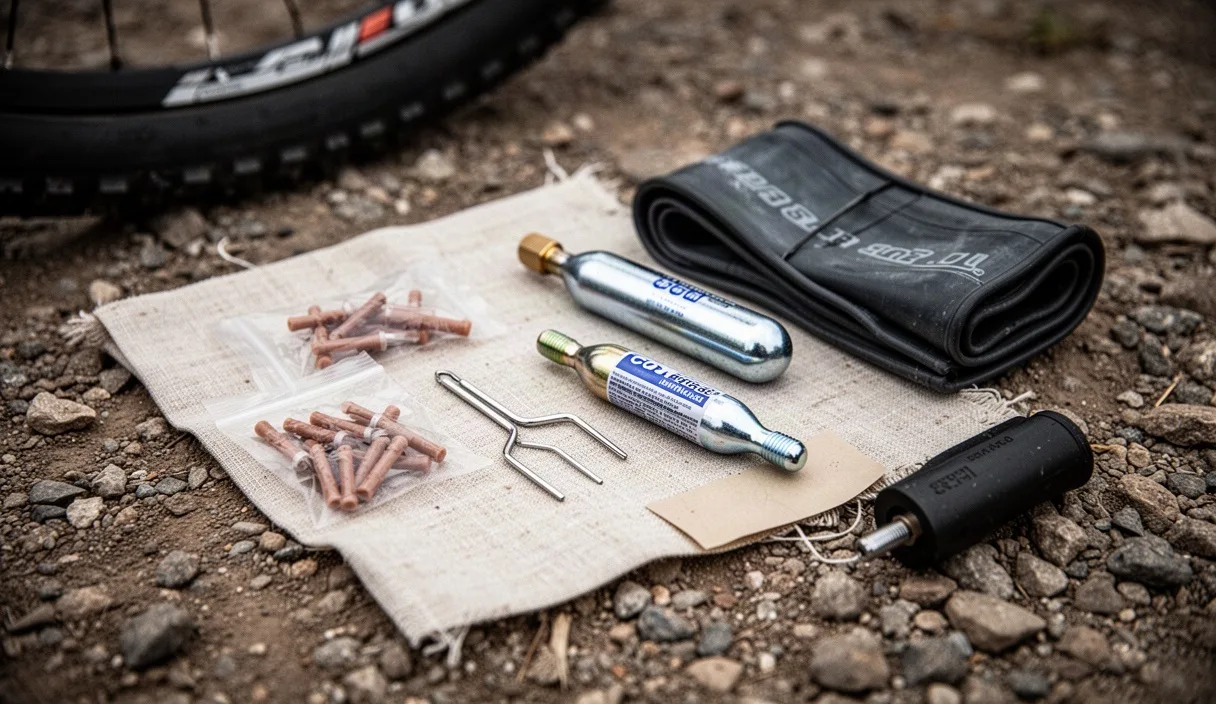
Pack the bottom of the frame bag first. Line the base directly above the bottom bracket with heavy steel tools, mini-pumps, spare tubes, tubeless plugs, and chain breakers. Wrap metal tools in a rag to prevent them from grinding against the frame or puncturing the bag fabric under road vibrations. Place spare chain links and heavy multi-tools inside a slim zip pouch pushed flat against the bottom seams.
Slide portable power banks, electronic cables, and dense food rations such as peanut butter jars or dense nut packs right above the tools. Keep items centered laterally; wide loads bulging out of the frame bag will rub your knees with every pedal stroke. Use internal divider straps found in high-grade bags to cinch the side panels tight, keeping the bag width under 70mm.
Reserve the top horizontal section of the frame bag for items needed during short trailside pauses. Slide tent poles along the upper tube if they are too long for the handlebar roll. Ensure the zipper closes smoothly without excessive tension: grit thrown from the front tire grinds into stressed zipper teeth, causing premature chain failure in the middle of a trip.
Balance Sleeping Bags on the Handlebars
Drop bars constrain horizontal packing space. Standard flared gravel drops provide roughly 40cm to 46cm of clearance between the hoods. A handlebar roll must fit cleanly between the drop curves without pressing on the brake levers or interfering with shifting mechanisms. Using an excessively wide dry bag jams the gear shifters inward, risking an unexpected shift or preventing a full brake lever pull.
Use a dual-ended waterproof stuff sack compressed inside a rigid harness system. A separate harness allows you to leave the mount bolted to the handlebars while removing the dry bag at camp. Slide your down sleeping bag, sleeping pad, and thermal base layers into the dry bag. Push down firmly from both ends to remove air before rolling the closures at least three full turns.
Rigid harness alignment prevents cable pinch. Run cables behind the harness or use purpose-built foam spacers to create a 20mm gap between the handlebar and the bag. This open channel leaves room for brake hoses and shift housing to bend naturally without kinking. Check the vertical clearance between the bottom of the loaded dry bag and the top of the front tire: you need at least 25mm of space when the tire is inflated to full pressure, or more if riding rough singletrack where tire flex and bag bounce occur.
Stabilize the Seatpack Against Sway
A loose, wagging seatpack ruins out-of-the-saddle climbing efficiency. The pack acts like a pendulum pivoted off the seatpost, rocking the bike opposite your pedaling cadence. Eliminate this sway by packing the internal compartment by density and tensioning the external harness system correctly.
Ram light, compressible items deep into the conical nose of the pack right next to the seatpost clamp. Extra socks, thermal tights, and dry camp layers work best here. Use your fist or a blunt tool to eliminate air pockets in the tapered end. Once the nose is rigid, pack mid-weight clothing, rain jackets, and an ultralight camp towel into the main body. Never place metal tools, cook pots, or food cans in a seatpack; their weight levers outward against the seat rails, tearing stitching and inducing severe sway.
Follow a strict cinching sequence when mounting the pack to the bike:
- Secure the primary wide hook-and-loop strap around the seatpost. Wrap it as tightly as possible before touching the saddle rails.
- Thread the upper straps through the saddle rails. Pull these straps upward with firm pressure to pull the pack tight against the bottom of the saddle.
- Roll down the dry bag closure, purging remaining air through the purge valve or seams.
- Tighten the lateral compression straps on the side of the bag to pull the rear weight forward toward the seatpost.
- Re-tighten the saddle rail straps a second time. Loading the pack compresses the fabric, leaving slack in the initial tensioning.
If your gravel frame has low seatpost exposure or you pack close to the 4kg limit, install an aluminum anti-sway stabilizer bracket. These metal brackets bolt onto the saddle rails and run support arms down both sides of the pack, eliminating side-to-side drift and providing twin mounting points for extra water bottle cages.
Strap Water Bottles to Lower Fork Legs
Gravel forks equipped with three-bolt cargo mounts allow you to carry substantial fluid mass low to the ground. Water is the densest supply carried on a bike: one liter weighs exactly 1kg. Placing two full 1.5-liter bottles on the fork legs drops 3kg of shifting fluid mass below the steering crown, increasing front-wheel tracking stability through loose sand and gravel washes.
Install rigid composite or aluminum cargo cages rated for at least 3kg per side. Check the bolt specs: torque the M5 mounting bolts to between 3Nm and 4Nm using a calibrated torque wrench. Add a drop of blue thread-locking compound to each bolt thread to prevent washboard road vibrations from backing the screws out into your spokes. If your carbon fork lacks factory mounts, do not drill into it. Use rubber-lined steel P-clamps or specialized strap-on cage adapters designed for carbon tubes, or consult a qualified bicycle mechanic before clamping accessories to composite legs.
Secure bottles or dry bags to the cargo cages using polyurethane straps with nylon buckles rather than standard woven hook-and-loop straps. Polyurethane stretches slightly, allowing you to tension the strap until it bites into the bottle casing. This tension holds the bottle immovable even when jumping water bars or rattling across cattle guards. Position the cargo cages on the lowest possible bolt holes to keep the center of gravity as low as the front hub.
Test Handling on Short Shakedown Loops
Never start a multi-day trip on an untested pack setup. Load every single piece of gear, fill all water vessels to capacity, and run a 20km shakedown loop over varied terrain. Include steep off-road climbs, fast washboard sections, and a short, chunky descent. The bike will feel sluggish initially, requiring earlier braking points and broader turn radii.
Adjust tire pressure during the test ride. Adding 15kg of gear plus your body weight increases tire deflection significantly. Increase tire pressure front and rear by 0.3 to 0.5 bar (4 to 7 psi) relative to your unladen gravel setup to protect rims from bottoming out on square-edged rocks. If your tires measure 40mm, a typical 75kg rider with 15kg of gear will generally run between 2.3 and 2.6 bar (33 to 38 psi), depending on internal rim width and tire casing thickness.
Listen for friction points and squeaks throughout the test. Stop immediately if you hear fabric rubbing on tire knobs or metal clicking against carbon tubes. Inspect cables to confirm the handlebar roll does not pin shift cables against the headtube, which slowly wears through outer cable housing and paint. Check the frame triangle to ensure your knees do not graze the frame pack zippers when pedaling under high torque.
Common Mistakes
- Overloading the handlebar roll: Putting heavy food or electronics up front slows steering response and causes the front wheel to tuck under unexpectedly during low-speed loose turns.
- Neglecting protective tape: Packs vibrate continuously against frame tubes. Without clear polyurethane protective tape on the top tube, down tube, seatpost, and fork legs, grit trapped under straps will rub through paint and gouge raw carbon or aluminum within 50km.
- Placing dense weight in the seatpack: Stashing water, canned food, or tools at the rear tip creates an uncontrollable pendulum that ruins cornering stability and overstresses saddle rails.
- Ignoring dropper post mechanics: Fastening standard seatpack straps around the moving stanchion of a dropper post ruins the seal and damages the coating. Use a dedicated dropper post adapter clamp.
- Failing to lock out purge valves: Leaving air purge valves open on dry bags allows water and dust to penetrate deep into sleeping bags during river crossings and wet descents.
Next Steps for Your Route
Pull out your luggage scale and weigh every packed bag independently before loading them onto the bicycle. Verify that your total gear, water, and food sum to the 15kg limit without tipping beyond your frame's maximum gross vehicle weight rating. Check the bicycle manufacturer manual for the total weight limit, which accounts for the rider, bicycle, and all attached luggage combined.
Once weights are verified, bolt on cages and harnesses with thread-locked fasteners, pack using the zone methodology, and complete your shakedown loop. If the bicycle feels unmanageable on 10 percent grades, remove non-essential items from your dry bags until the overall gear mass drops closer to 12kg. A lighter rig climbs faster, handles predictable lines through rough gravel, and dramatically reduces wear on your wheels and drivetrain.