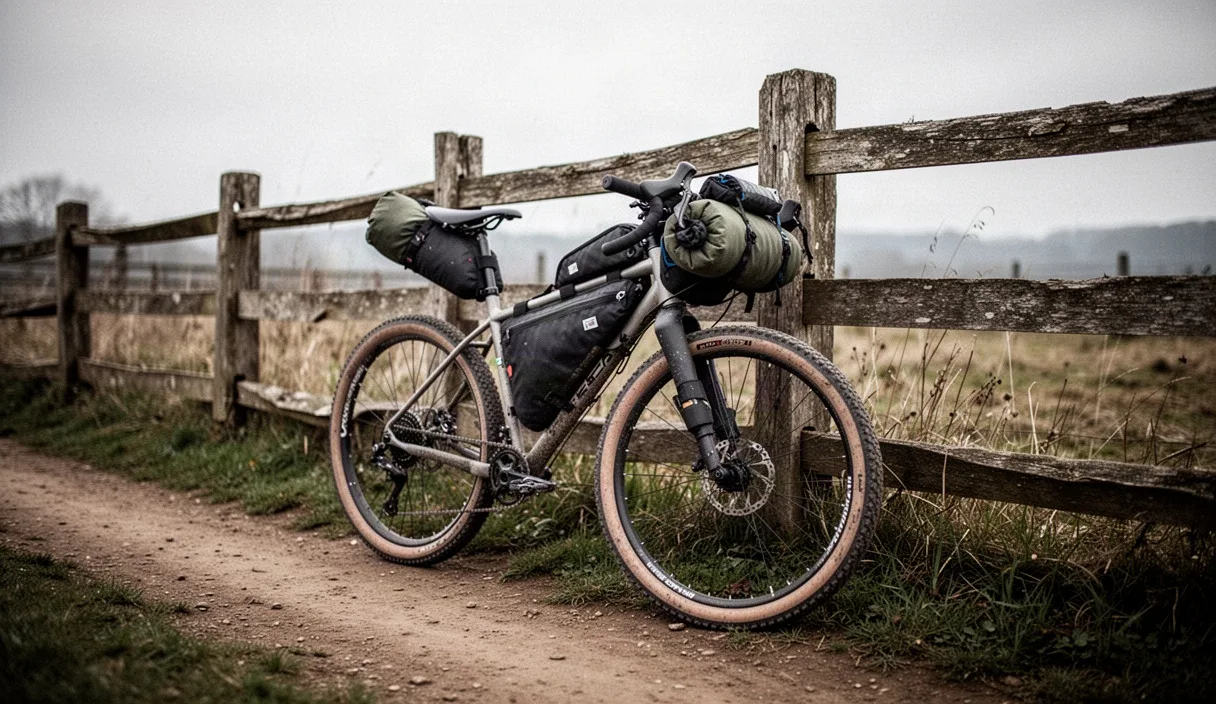
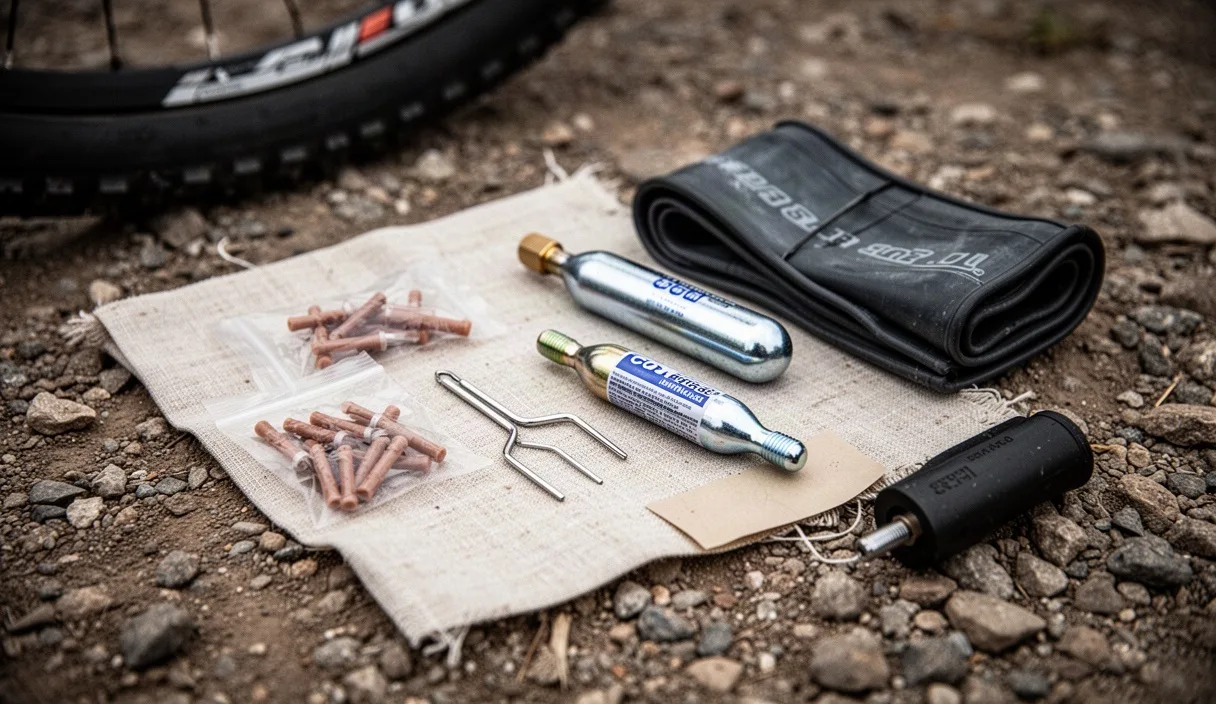
Flat tires kill trail momentum. Running tubeless saves weight and seals minor thorn pricks automatically, but backcountry terrain cuts deeper than a standard liquid barrier can manage alone. When sharp granite slices a tread block or a pinch flat tears the casing right above the rim hook, relying solely on liquid sealant leaves you walking out in cycling shoes. A trailside tubeless repair kit bridges the gap between riding home and spending an unplanned night in the woods.
Building an effective kit requires gear matched directly to your tire volume and casing thickness. Different punctures demand distinct mechanical repairs. Carrying insertion needles, various plug sizes, casing boots, spare valve cores, and a high-flow inflation method gives you the tools to solve complex failures quickly. Field repairs are dirty, rushed, and physical. Having the exact tools organized in your frame bag keeps small mechanical delays from ending your ride.
Inspect Sealant Levels Before Leaving Home
Check liquid volume before packing. Liquid latex dries out over time, transforming into useless rubber skin or heavy latex balls inside your tire casing. In hot, dry climates, liquid sealant evaporates within 30 to 45 days. In cooler, damp regions, functional life ranges from 90 to 120 days. Never rely on the sound of sloshing liquid alone. Dried latex balls rattle against the rim bed and produce sounds that mimic active fluid.
Use a graduated dipstick or a dedicated syringe through the valve stem to confirm fluid levels without breaking the bead. Remove the valve core, roll the wheel so the valve sits at the bottom 6 o'clock position, and insert the dipstick until it contacts the inner casing. Withdraw the tool to read the fluid depth. If using an injector syringe, draw the fluid upward into the graduated cylinder to measure the exact milliliter volume. If the volume is low, inject fresh sealant directly through the stem and thread the core back into place.
- Gravel tires (38 mm to 45 mm): Maintain 40 ml to 60 ml of active sealant.
- Cross-country tires (2.1 to 2.3 inches): Maintain 60 ml to 90 ml of active sealant.
- Trail and enduro tires (2.4 to 2.6 inches): Maintain 90 ml to 120 ml of active sealant.
- Plus-size tires (2.8 to 3.0 inches): Maintain 120 ml to 150 ml of active sealant.
Examine the fluid quality drawn into your syringe. If the sealant looks like watery, clear solvent with small floating rubber flecks, the active chemical suspension has broken down. Flush the degraded fluid completely and inject fresh compound before riding remote singletrack.
Plug Punctures Using Insertion Prongs
Tread punctures larger than 2 mm overwhelm liquid sealant. Plugs, also known as bacon strips, physically block the hole so the internal liquid latex can coagulate against the rubber cords. Locate the puncture immediately by looking for spraying air or bubbling fluid. Roll the tire so the puncture sits at the bottom against the dirt. Pooling the remaining sealant directly over the hole slows air loss while you ready your repair tools.
Thread a tacky rubber strip through the eye of the fork prongs until it sits centered on the tool. Push the fork straight into the puncture hole, perpendicular to the tread surface. Do not push the tool all the way through into the tire cavity. Leave 5 mm to 8 mm of the folded rubber tails visible outside the tread. Twist the tool a quarter turn if using a slotted fork design, then pull straight back out. The friction of the casing cords grips the tacky plug, sliding it out of the fork prongs.
| Plug System | Tool Type | Best Hole Size | Field Advantages | Field Limitations |
|---|---|---|---|---|
| Bacon Strips | Slotted fork prongs | 2 mm to 4 mm | Low cost, flexible, multiple strips can be bundled | Can pull out under high cornering loads |
| Brass Tip (Dynaplug) | Smooth insertion tube | 1 mm to 5 mm | Instant mechanical anchor, rapid deployment | Higher cost, rigid brass tip stays inside tire |
| Rope Plugs | Heavy serrated needle | 4 mm to 7 mm | Dense butyl fiber fills jagged tread tears | Requires significant hand force to insert |
Trim the excess rubber tails with a small folding razor blade if they strike your chainstays or drag heavily across trail debris. Leave approximately 3 mm of plug material extended above the tread lugs. Regular riding friction will flatten the remaining plug material into a smooth rivet head over the first mile of travel.
Boot Sidewall Gashes with Reinforced Patches
Sidewall slices demand immediate internal reinforcement. Because the casing sidewall flexes under cornering and braking forces, an unsupported sidewall puncture stretches open, spitting plugs straight out into the dirt. When a cut exceeds 5 mm or severs the structural nylon casing threads, boot the tire from the inside to preserve casing integrity.
Break the tire bead away from the rim along a 15-centimeter section directly adjacent to the tear. Push the tire casing outward to expose the inside surface. Liquid sealant leaves an oily, slick film that prevents patches from bonding to the rubber. Scrub the damaged area clean using an alcohol wipe or a dry rag. If the surface remains greasy, lightly scrape the inner butyl liner with a clean razor blade to expose raw casing material. Let the surface dry completely for two full minutes.
Install a dedicated structural boot, such as a fiber-reinforced adhesive patch. If using a standard rubber repair patch, apply a thin layer of vulcanizing cement and wait until it turns tacky before pressing the patch down firmly. In an emergency where commercial boots are missing, use an empty foil energy gel packet or a clean strip cut from a plastic water bottle. Position the smooth material over the cut on the inside of the casing. As you reseat the bead and inflate the wheel, the internal air pressure presses the boot flat against the tire wall, preventing the inner tube or air mass from herniating through the gash.
Clear Clogged Presta Valve Stems
Sealant frequently clogs the internal mechanisms of Presta valves during routine tire inflation and trailside pressure checks. Over several weeks of riding, liquid latex support inside the narrow brass stem, restricting airflow and causing inaccurate readings on pressure gauges. When a hand pump resists your stroke or air refuses to enter the tire cavity, dried latex has choked the valve core.
Unscrew the removable valve core using a cast aluminum core tool or an integrated spoke-wrench slot. Avoid using standard slip-joint pliers; pliers crush the thin brass barrel and strip the fine outer threads. Once the core is out, inspect the rubber sealing ring at the bottom of the threaded pin. Hardened latex commonly wraps around this rubber base, preventing the valve from opening under pump pressure.
Clean the brass passage using a straight metal pick, a paperclip, or the tail end of a 2 mm spoke. Scrape away the cured latex plug from the inside of the valve stem barrel. Depress the core pin manually several times to verify that the spring-action rod moves cleanly without sticking. If the tiny rubber seal is torn or the threaded rod is bent, discard the core. Always carry two fresh Presta cores inside your repair capsule; they weigh under 2 grams each and resolve inflation issues instantly.
Seat Beads with Hand Pumps and CO2
Seating a tubeless bead requires an immediate rush of air volume. A standard compact hand pump moves air too slowly to push the rubber bead up onto the rim shelf if air is escaping past loose tire shoulders. You must set up the wheel to maximize airflow volume before pumping.
Remove the valve core completely before attaching your inflation device. Removing the core opens the brass stem to its full diameter, eliminating the restrictive pin and doubling the volume of air entering the casing per stroke. Pull the tire beads outward toward the rim walls with your fingers all the way around both sides of the wheel. This creates a rough physical seal against the rim tape prior to pumping.
When a high-volume mini-pump fails to jump the bead onto the shelf, switch to a threaded CO2 cartridge. Use a 25-gram cartridge for 29-inch and 27.5-inch mountain bike tires. A small 16-gram road cartridge lacks the compressed gas volume needed to expand high-volume casings past the internal rim hump.
- Thread the 25-gram cartridge securely into the inflator head.
- Press the inflator nozzle firmly over the bare, coreless valve stem.
- Open the inflator control valve completely in one fast motion.
- Listen for two distinct, sharp popping sounds as the beads snap onto the rim shelves.
- Pull the inflator head off and cover the valve opening with your thumb to trap the air mass.
- Quickly insert the fresh valve core and screw it down tight with your core wrench.
Watch out for extreme cold during CO2 expansion. Expanding gas drops rapidly to sub-zero temperatures, which can freeze liquid latex into a useless rubber clump. Rotate the wheel so the valve stem sits at the 12 o'clock position before discharging the cartridge. This keeps the sub-zero blast away from the liquid pool settling at the bottom of the tire.
Mount a Tube When the Bead Fails
Heavy rim dents, torn beads, and structural casing deformities make tubeless retention impossible on the trail. When air continues to escape along the rim interface despite multiple plugs and boots, installing a standard inner tube provides the only way to ride home. Installing a tube into a sealant-soaked tire requires strict preparation to avoid puncturing the replacement tube immediately.
Pop one side of the tire bead off the rim completely while leaving the other side seated on the opposite shelf. Use a clean cloth or a gloved hand to sweep the entire inside channel of the tire. Never sweep the inside of a damaged tire with bare fingers; embedded thorns, wire fragments, and sharp rock splinters will slice your skin. Remove every puncturing object poking through the inside casing before dropping the tube into the wheel.
Unthread the knurled lockring from your tubeless valve stem and pull the valve body out of the rim bed. Put the valve, rubber base, and lockring into a secure zipper pocket in your pack so you can restore your tubeless setup at home later. Add a few pump strokes of air into your spare tube until it takes a loose circular shape. A round tube resists getting twisted inside the casing and prevents the bead from pinching the rubber against the aluminum rim wall.
Insert the tube valve through the rim hole, tuck the tube body uniformly inside the tire cavity, and lever the second bead back over the rim edge. Start opposite the valve and finish directly at the valve stem. Inflate the tire to standard riding pressure using your hand pump, checking both sides of the wheel to verify that the bead line runs concentric with the rim edge.
Common Mistakes
- Over-reaming small punctures: Forcing a thick, aggressive file or rasp through a small 1 mm hole cuts the cross-woven casing cords, turning a simple puncture into an irreparable tire failure.
- Carrying dry bacon strips: Storing repair strips loose in a pack exposes the adhesive compound to dirt and ambient air. Keep all plugs sealed inside airtight plastic sleeves or metal storage pods until deployment.
- Plugging tires with thorns still inside: Inserting a plug without pulling out the offending thorn or nail leaves the sharp object in place, which cuts the new plug from within as the casing flexes.
- Tightening valve cores by hand: Finger-tight cores vibrate loose on rough descents and unthread completely when removing thread-on pump chucks. Secure them firmly with a wrench.
- Neglecting rim tape condition: Installing an inner tube over torn, bunched tubeless tape leaves spoke holes exposed, causing immediate high-pressure punctures on the tube base.
Practical Next Steps
Audit your saddle bag or frame pack before your next trail ride. Pull every tool out and inspect the physical condition of the consumables. Open your plug container to confirm the rubber strips are tacky and soft rather than hard and brittle. Check the seal on your tube of vulcanizing cement; opened tubes cure into useless solid blocks inside six months.
Pack two 25-gram threaded CO2 cartridges, a compact valve core wrench, three spare valve cores, a high-volume mini-pump, and a thermoplastic polyurethane (TPU) inner tube sized for your wheel diameter. TPU tubes fold down to a fraction of the size of standard butyl tubes, freeing valuable space in your kit. If your tire casing shows signs of exterior threads peeling away, structural wobble, or chronic air leaks around the bead interface, have a professional bicycle mechanic inspect the wheel system before embarking on remote backcountry routes.