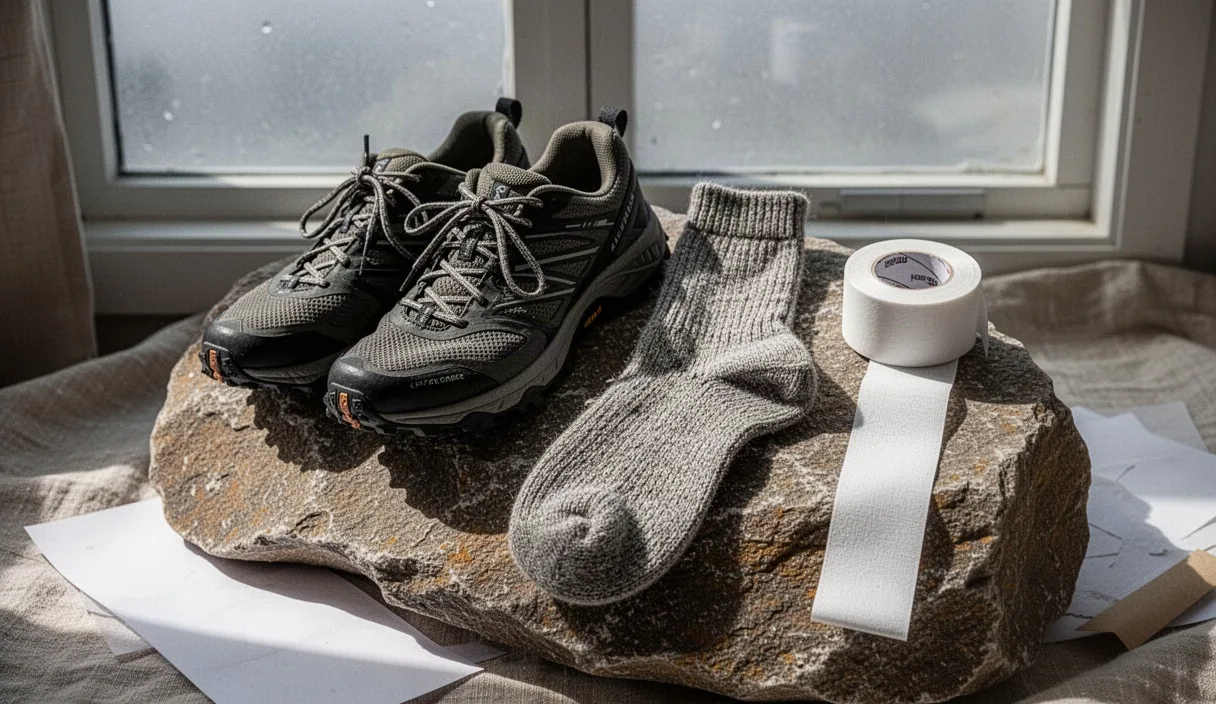
Wet skin tears quickly under friction. Moisture softens the stratum corneum, the outer protective layer of human skin, through a process called maceration. When rain saturates the forest undergrowth, brush transfers water onto gaiters, socks, and shoe uppers within the first 2 miles of movement. The coefficient of friction inside footwear spikes when dampness sets in, turning minor pressure points into deep fluid blisters in less than an hour.
Preventing trail blisters in damp environments requires aggressive mechanical barriers and disciplined moisture management. Once water penetrates a boot, passive drying ceases to function. You must manage the water you cannot escape, stabilize the skin before shear stress separates tissue layers, and strip trail grit out of your system before it acts as liquid sandpaper. This guide outlines the exact trail protocol for continuous downpours, bog traverses, and wet forest floors.
Identify Friction Points Before Setting Out
Map your foot geography at home on a dry floor. Most hikers develop hotspots in identical anatomical positions on every trek: the posterior calcaneus (back of the heel), the lateral margin of the fifth metatarsal head (outer pinky toe edge), and the medial aspect of the first metatarsal head (base of the big toe). Structural abnormalities like bunions, high arches, or tailor bunions amplify pressure against the boot upper when soaked leather or nylon stretches and settles.
Examine your feet after a standard training walk. Look for localized erythema (red patches), thick calluses, and areas of skin shearing. Calluses often create an illusion of protection, but thick, rigid skin does not deform cooperatively with the softer subcutaneous tissue underneath. Instead, a deep blister shears open beneath the hard plaque, making field drainage difficult. File thick calluses down flat with a pumice stone or foot file 3 days before a hike to equalize skin elasticity across pressure zones.
Check the mechanical interface of your boot and foot before packing. Lace your boots to trail tension and stand on a 20-degree incline or a household staircase facing down. If your toes slide forward and touch the front of the toe box, your foot will slide repeatedly on downhill forest descents. That repeated 3-millimeter slide creates friction blisters across the tips of the toes and beneath the toenails. Adjust your volume with an alternate lacing lock, such as a heel-lock lace or surgeon knot, before you ever step onto a wet trailhead.
Select Sock Blends for Wet Weather Pacing
Forget pure cotton completely on wet forest tracks. Cotton fibers hold up to 27 times their dry weight in water, expand when wet, and collapse into a rough, sodden pulp that bunches in the toe box. You need technical knit constructions combining high-grade merino wool with synthetic fibers like nylon, polyester, and elastane. Merino wool absorbs moisture vapor inside its core while keeping its surface relatively dry, while nylon supplies tensile strength against the continuous friction of a wet boot heel.
Match the fabric density to your pace and precipitation intensity. Lightweight socks retain less water and dry faster during brief halts, but provide less physical cushioning once soaked. Heavy cushion socks create a substantial buffer against lace bite and hard collar pressure, but act as persistent water reservoirs once inundated. In wet temperate rainforests with continuous rainfall, carrying 3 pairs of medium-cushion wool-synthetic socks yields better results than wearing a single bulky pair.
| Fabric Blend | Primary Material Ratio | Drying Rate | Shear Reduction Under Water |
|---|---|---|---|
| Merino / Synthetic Blend | 63% Merino, 33% Nylon, 4% Lycra | Moderate (35-45 minutes air dry) | High: fibers retain shape and resilient spring |
| Pure Synthetic Knit | 78% Coolmax Polyester, 18% Nylon, 4% Spandex | Fast (20-30 minutes air dry) | Moderate: slick surface, but thins when wet |
| Double-Layer Anti-Friction | Inner: 100% Polypropylene; Outer: 70% Merino | Slow to Moderate | High: inner layer slides against outer layer |
| Cotton / Poly Blend | 58% Cotton, 38% Polyester, 4% Rubber | Very Slow (over 90 minutes) | Extremely Low: fibers bind, stick, and abrade |
Consider a dual-layer system for long, swampy approaches. A thin, slick polyester or polypropylene liner sock worn directly against the skin transfers movement away from your epidermis. The liner clings to your skin, while the thicker wool-blend outer sock rubs against the liner. The friction occurs between fabric and fabric, rather than fabric and flesh. If you adopt this system, ensure your boots have roughly 5 to 7 millimeters of excess width to prevent side-compression across the metatarsals.
Apply Rigid Strapping Tape to Hot Spots
Apply preventive taping before leaving the trailhead, not after the skin turns pink. Once you feel a hot spot, an inflammatory response has already started, fluid is gathering beneath the dermis, and the outer skin layers have begun to detach. Rigid zinc oxide strapping tape (such as Leukotape P) is the standard for wet conditions. Unlike elastic kinesiology tape or basic medical tape, rigid rayon-backed tape does not stretch under body weight and resists edge curling caused by damp footwear.
Follow a clean, deliberate application sequence to ensure the tape stays bonded through river splashes and saturated moss:
- Degrease the skin surface: Rub the contact area with an alcohol prep pad. Clear away skin oils, dead cells, and dirt. Let the alcohol evaporate fully for 30 seconds.
- Round every single corner: Cut your tape strip with sharp scissors. Snip off all four square corners into smooth, rounded edges. Square corners catch on sock fibers and peel off within 400 yards of walking.
- Anchor without tension: Lay the tape down flat over the hot spot. Do not stretch the tape as you apply it across the heel or under the foot; stretched tape pulls the skin inward, creating tension wrinkles that lead to shear blisters along the tape margin.
- Press and activate the adhesive: Firmly press the tape down with the warm palm of your hand for 45 seconds. Body heat activates the zinc oxide adhesive, bonding it directly into the micro-crevices of the skin surface.
- Dust the edges: Rub a small amount of talc, cornstarch, or trail dust over the top and exposed borders of the tape. This neutralizes any exposed adhesive along the rim, preventing it from catching the knit of your sock.
For high-risk heel zones, run a vertical strip from underneath the arch up the back of the calcaneus, ending 2 inches above the shoe collar. Secure that strip with a horizontal anchor across the top of the Achilles tendon. Avoid wrapping tape completely around your foot or toes in a continuous circle; your feet swell between 4% and 8% in volume over a full day of hiking, and circular tape creates an unyielding band that restricts arterial blood flow and causes deep tissue throbbing.
Manage Insole Moisture at Midday Breaks
Take a 20-minute operational break every 4 hours, regardless of trail conditions. Do not sit on a wet log with your boots laced tight. Find an overhanging rock shelf, pitch a small tarp, or sit under a dense fir canopy to create a dry working space. Unlace your boots fully, pull your feet out, and remove the insoles immediately.
Standard open-cell foam insoles act as dense sponges. A saturated insole can hold up to 2.5 ounces of water per foot, continuously pumping cold, dirty fluid back up into your dry socks. Pull the footbed completely free of the boot chassis. Stand it vertically against your pack frame or hang it from a branch under your shelter to drain. Squeeze the heel cup firmly between your thumbs to force trapped water out of the cell matrix.
Dry the skin of your feet using a dedicated microfiber camp towel. Check between each toe for early maceration, which looks like pale, wrinkled, spongy skin. Expose your bare feet to the ambient air for 10 minutes to allow the skin surface to firm up. If the weather is warm enough, let the natural air exchange evaporate interstitial moisture. In sub-freezing or near-freezing rain, keep your feet sheltered inside your pack liner or on top of your foam sit pad to prevent rapid chilling.
Before putting footwear back on, replace your wet morning socks with a fresh, dry pair from a sealed dry bag. Pack the wet morning socks into an external mesh pouch on your pack if the rain has stopped, or roll them in your microfiber towel to wring out excess moisture before stowing them. If you must put a dry sock back into a damp boot, slide a thin, clean plastic barrier (like an oven bag or bread bag) over the dry sock before inserting your foot into the shoe. This vapor barrier protocol keeps your skin dry and robust even inside a completely waterlogged shoe chassis for the remaining 6 miles of the afternoon.
Clean Grit and Trail Mud from Boot Linings
Forest mud is rarely just soil; it is a suspension of sharp quartz crystals, decomposed plant matter, fine silt, and abrasive granitic sand. When trail water overspills your collar or filters through the mesh uppers of trail runners, water escapes while solid mineral particulate stays trapped. These fine grains collect in the seam lines around the heel counter, work their way into the sock fabric, and grind into the skin like 80-grit abrasive paper.
Rinse boots thoroughly when passing clear running water if grit has entered the footwear. It seems counterintuitive to flood an already damp boot, but clean water creates far less friction than silt-laden water. Loosen the laces, submerge the footwear in a clear pool or stream, and swish the shoe aggressively to flush out accumulated sediment. Invert the shoe and slap the bottom of the heel against your hand to dislodge sand packed along the baseboard stitching.
Inspect the interior footbed cavity with bare fingers. Run your fingertips across the inner perimeter, paying close attention to these structural zones:
- The heel cup perimeter: Sand settles beneath the edge of the footbed and forms a hard, raised ridge.
- The toe box ceiling: Grit works through top mesh panels and sticks to the inner fabric lining directly over your toenails.
- The lower tongue gussets: The folds of fabric where the tongue connects to the upper trap pebbles that exert focused pressure on the top of the cuneiform bones.
Wipe the interior lining with a damp cloth or bandana to extract embedded silt. If your boots have a waterproof-breathable bootie membrane, accumulated grit will abrade through the thin polytetrafluoroethylene (PTFE) film within 20 miles of hard walking, permanently ruining the boot's water resistance. Removing trail grit preserves your skin integrity today and preserves your gear for future trips.
Common Mistakes
Applying cotton adhesive bandages (such as basic first-aid strips) to damp feet is a common field failure. Standard adhesive bandages lack water-resistant glues; they roll off inside the sock within 200 yards, gathering into a sticky, abrasive wad that accelerates blister formation. Use only high-tensile, moisture-cured tape applied to clean skin.
Hiking with untrimmed, jagged toenails is another frequent oversight. Wet conditions cause nails to soften and bite deeply into neighboring toes. A sharp corner on the second toe will punch a painful lateral puncture blister into the third toe during steep forest descents. Clip nails straight across 24 hours before your trip, leaving a millimeter of white edge, and file down rough edges.
Ignoring minor hot spots due to cold trail conditions causes severe deep-tissue shearing. Cold rainwater desensitizes superficial nerve endings in the foot. You might not register the classic burning pain of a friction blister until the epidermis has torn clean through to raw, weeping dermis. Treat mechanical tightness, tingling, or strange sloshing immediately; numbness is not a sign that friction has vanished.
Drying leather footwear too close to open campfires or high-output camp stoves ruins boots. Direct heat shrinks wet leather unevenly, hardens synthetic linings, melts internal seam glues, and curls insole foundations into brittle shapes. If boots warp around the heel counter during an evening dry-out, they will produce severe friction points on the following morning's hike.
Next Steps for Trail Preparation
Assemble a specialized wet-footwear kit in a heavy-duty, waterproof zip bag. Pack one roll of 1.5-inch rigid strapping tape, 4 sterile alcohol prep pads, a compact pair of stainless steel folding trauma shears, a small tube of friction-reducing skin lubricant, 2 plastic bread bags for improvised vapor barriers, and a 12-inch square piece of fast-drying microfiber cloth. Keep this pouch in the top pocket of your backpack where you can access it within 60 seconds of noticing discomfort.
Verify your gaiter setup before your next rainy-season outing. Low, breathable trail gaiters prevent loose pine needles, forest mulch, and coarse sand from tumbling past your boot collar and settling around your ankles. Ensure the underfoot stirrups on your gaiters are adjusted snugly against the instep so they do not snag on wet roots or loose rocks during slippery ascents.
If you experience chronic blistering despite rigorous taping and proper sock selection, consult a podiatrist or a professional boot fitter. Structural foot imbalances, excessive pronation, or improperly sized lasts require custom orthotics or specific volume adjustments that standard field protocols cannot resolve on their own. If a field blister displays signs of infection, such as spreading redness, red streaks moving up the leg, cloudy pus, or fever, seek immediate medical attention.