Twenty kilometers requires deliberate packing. A trail of this distance takes between four and seven hours of moving time, depending on elevation gain, trail condition, and pace. You cannot rely on a standard two-hour walk setup, nor do you need the heavy load of an overnight trek. The goal is to move efficiently without exposing yourself to weather shifts, dehydration, or preventable foot injuries.
Every item in your pack must serve an active purpose or solve a specific emergency. Carrying dead weight wastes energy, while skipping essentials leaves you exposed if an afternoon squall hits or a rolled ankle delays your exit until dark. Use this field-tested gear list to calibrate your load for a demanding 20km day hike.
Calculate Base Weight Targets
Keep your base weight between 3.5kg and 5.5kg. Base weight includes your pack, emergency gear, layers, tools, and medical supplies, excluding water, food, and fuel. When you add two liters of water (2kg) and roughly 800g of trail food, your total pack weight should sit between 6.3kg and 8.3kg at the trailhead. Carrying more than 9kg on an unsupported single-day hike creates unnecessary joint fatigue across 20 kilometers.
Choose a daypack with an internal volume of 20 to 28 liters. Anything smaller than 20 liters forces you to strap gear to the exterior, where it catches on brush and gets soaked in rain. Packs over 30 liters invite overpacking and carry dead frame weight. Look for a pack featuring a rigid or semi-rigid back panel, load lifters on the shoulder straps, and a wide, padded hip belt that transfers roughly 70 percent of the load directly to your iliac crest.
| Pack Component | Ideal Weight Range | Design Priority |
|---|---|---|
| Daypack (22-26L) | 750g - 1100g | Adjustable torso, load-bearing hip belt |
| Protective Shells | 450g - 700g | Fully taped seams, mechanical pit zips |
| Insulation Layer | 250g - 400g | Grid fleece or 60g synthetic fill |
| Safety and Hardware | 500g - 750g | Headlamp, knife, fire kit, navigation |
| First Aid and Repair | 250g - 350g | Blister care, trauma tape, splint wrap |
Weigh your loaded pack on a luggage scale before leaving home. Place dense, heavy items close to your spine at mid-back level. Keep your rain gear and medical kit in the top lid or exterior stash pocket so you can pull them in seconds without unloading the main compartment in bad weather.
Select Weather-Resilient Layers
Dress for the second kilometer, not the parking lot. You will heat up rapidly within ten minutes of movement. Start in a lightweight, long-sleeve synthetic or merino wool base layer (120 to 150 grams per square meter). Synthetic fabrics dump heat and dry faster than wool; merino regulates odor better and retains modest insulation when damp. Avoid cotton completely: it absorbs up to 27 times its weight in water and pulls heat away from your skin 25 times faster when wet.
Pack an active insulation piece even in warm months. A 200-weight grid fleece or a breathable 60gsm synthetic jacket keeps you warm during exposed summit breaks or unexpected stops. Down provides the highest warmth-to-weight ratio, but wet down collapses and loses its insulation value. For humid conditions, coastal tracks, or rain-prone mountain ranges, synthetic insulation like PrimaLoft Gold or Coreloft yields a safer safety margin.
Pack a dedicated hard shell jacket with a minimum hydrostatic head rating of 15,000mm. Water-resistant windbreakers do not stop sustained rain on a multi-hour trek. Your hard shell must have a three-way adjustable hood with a stiffened brim to protect your face, hook-and-loop cuff closures, and pit zips to dump moisture while climbing steep inclines. If the forecast calls for cold rain, high winds, or mountain exposure above the tree line, pack lightweight waterproof rain trousers (200g or less) equipped with ankle zips so you can pull them on over muddy trail boots.
- Worn base layer: UPF-rated long-sleeve merino or polyester shirt, fitted trail shorts or ripstop pants, synthetic liner socks under merino wool hiking socks.
- Packed mid-layer: Half-zip fleece pullover or 60gsm breathable synthetic hoodie.
- Packed weather shell: 2.5-layer or 3-layer waterproof-breathable jacket with pit zips.
- Head and hand protection: Lightweight merino beanie (40g) and thin windproof gloves stashed in an internal pocket.
Pack Water and Filtration Tools
Carry a baseline volume of two liters of water for a 20km route. Increase this to three or four liters if the trail features over 800 meters of vertical gain, sustained direct sun, or temperatures exceeding 24 degrees Celsius. Running dry at kilometer 14 creates physical decline, cognitive errors, and cramps. Test your water consumption rate on shorter training routes to know your baseline.
Rely on a combination of carrying capacity and on-trail treatment. Carrying four full liters from the trailhead adds four kilograms of dead weight. If reliable surface water sources exist along your route, carry 1.5 liters and treat water as you go. Use a hollow-fiber membrane squeeze filter (such as a Sawyer Squeeze or Katadyn BeFree) with an absolute pore size of 0.1 or 0.2 microns. These filters remove bacteria and protozoa immediately without leaving a chemical aftertaste.
Always carry a backup purification method that weighs virtually nothing. Hollow-fiber filters can crack if dropped onto rocks or if water freezes inside the internal fibers. Pack six to eight chlorine dioxide tablets in a crushproof case. Chlorine dioxide kills bacteria, viruses, and cryptosporidium oocysts, making it an effective fail-safe if your mechanical filter clogs with heavy silt or breaks on trail.
- Primary vessels: Two 1-liter wide-mouth TPU soft flasks or collapsible bottles. These compress flat as you drink, saving internal pack volume and preventing liquid sloshing.
- Primary filter: 0.1-micron squeeze filter paired with a durable 1-liter collection pouch. Pre-filter turbid water through a clean bandana to avoid clogging the cartridge.
- Chemical backup: Strip of chlorine dioxide tablets (four hours contact time required for cryptosporidium; 15 minutes for common bacteria).
- Electrolyte replacement: Two single-serving electrolyte packets containing sodium, potassium, and magnesium to prevent hyponatremia during heavy sweating.
Choose Trail Food for Steady Output
Plan for 2,000 to 2,800 calories of food for a 20km hike, depending on body mass and trail gradient. Do not rely solely on simple sugars like energy gels or candy bars. Sugars cause quick spikes and sharp crashes in blood glucose. Build a food pack balanced across fats, complex carbohydrates, and lean proteins to sustain consistent energy output across five to six hours.
Aim for an energy density of at least 4.2 calories per gram to keep pack weight low. Foods high in healthy fats, such as raw macadamias, walnuts, nut butters, and hard cheeses, yield approximately 6 to 9 calories per gram. Carbohydrate sources like dried figs, rolled oat bars, and pretzels provide fast muscle glycogen restoration during steep ascents.
| Food Item | Portion Size | Approx. Calories | Primary Benefit |
|---|---|---|---|
| Mixed raw nuts and seeds | 100g | 610 kcal | High-density fat, sustained energy |
| Dried Turkish apricots or figs | 80g | 210 kcal | Fast potassium and glycogen replenishment |
| Dense rolled-oat flapjack | 90g | 380 kcal | Complex carbohydrates, easy digestion |
| Cured meat (biltong or jerky) | 60g | 180 kcal | Sodium replenishment and sustained protein |
| Aged cheddar or gouda | 50g | 200 kcal | Caloric density, stable in moderate heat |
Eat on a schedule rather than waiting for intense hunger cues. Set a timer to consume 200 to 250 calories every 60 minutes of trail movement. Digesting small amounts while walking maintains blood flow to working muscles and prevents the sluggishness that follows large, heavy lunch stops. Pack an emergency ration of 500 calories (two dense energy bars) that remains untouched in the bottom of your sack for contingencies.
Assemble the Small Medical Kit
Build a medical kit designed for common field trauma and foot management. Pre-packaged retail first-aid kits contain dozens of plastic bandages and antiseptic wipes that add bulk without addressing serious trail issues. Strip your kit down to an airtight 0.5-liter dry bag weighing under 300 grams, containing only items you know how to apply under stress.
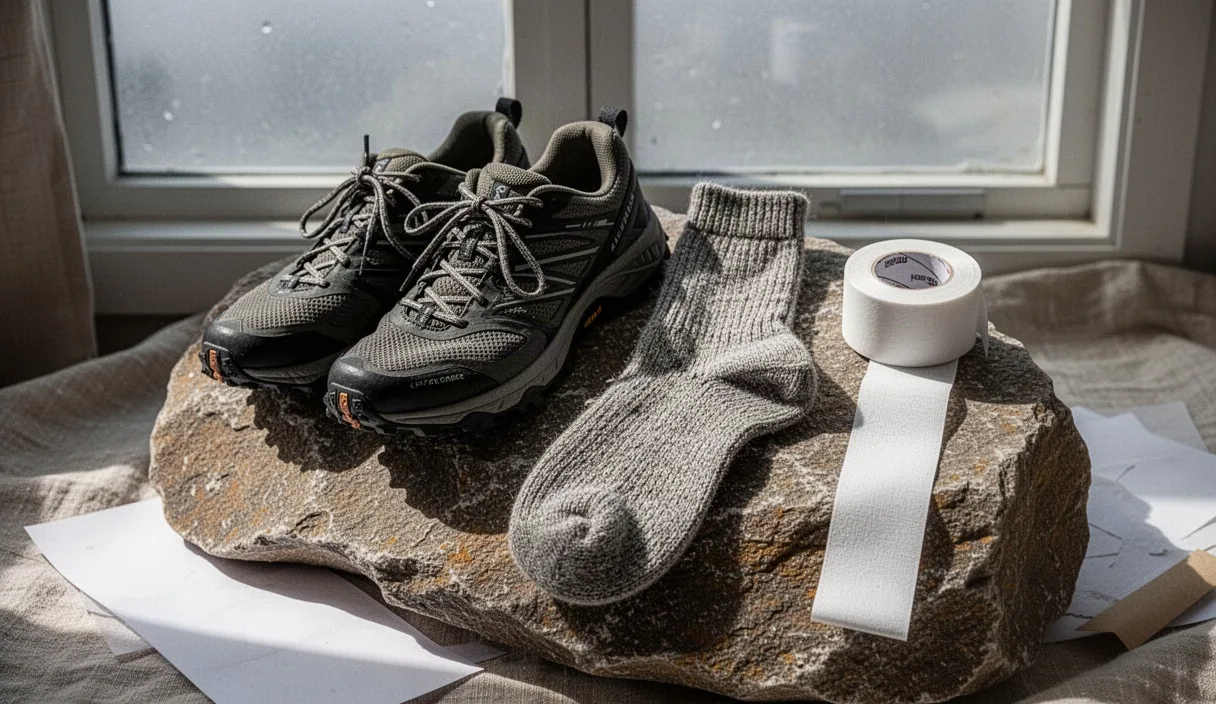
Prioritize foot maintenance. Friction blisters are the most common reason hikers fail to finish a 20km route. Pack a roll of rigid zinc oxide tape or genuine Leukotape P, alongside two hydrocolloid blister bandages. Apply Leukotape at the first sensation of a "hot spot" before a fluid-filled blister forms. Leukotape sticks to sweaty skin for days and does not roll up inside wool socks like standard medical tape.
Carry medication in labeled mini-grips with written dosage guidelines. Include an antihistamine for allergic reactions to insect stings or plants, an anti-diarrheal like loperamide to prevent rapid dehydration on trail, and ibuprofen or paracetamol to manage joint inflammation or pain. Consult your physician or a certified medical professional for personalized advice on carrying and taking prescription or over-the-counter medications in remote settings.
- Trauma and dressing: One 7.5cm elastic compression bandage for sprained ankles, two sterile non-stick dressings (10cm x 10cm), one roll of cohesive wrap (Coban), and three alcohol prep pads.
- Blister prevention: Leukotape P (wrapped around an old plastic gift card to save space) and two large hydrocolloid patches.
- Hardware: Precision point tweezers for tick and splinter extraction, safety pins, and a single-edge razor or small folding trauma shears.
- Medication supply: Four doses of ibuprofen, two doses of loperamide, two doses of antihistamine, and four water-purification backup tablets.
Carry Non-Digital Navigation Backups
Never rely exclusively on a smartphone for trail navigation. Lithium-ion smartphone batteries lose charge rapidly in low temperatures, cold wind, or areas of weak cellular reception where the internal antenna searches constantly for signal. A single slip on slick rock can shatter a phone screen, instantly eliminating your map, compass, and emergency contact method.
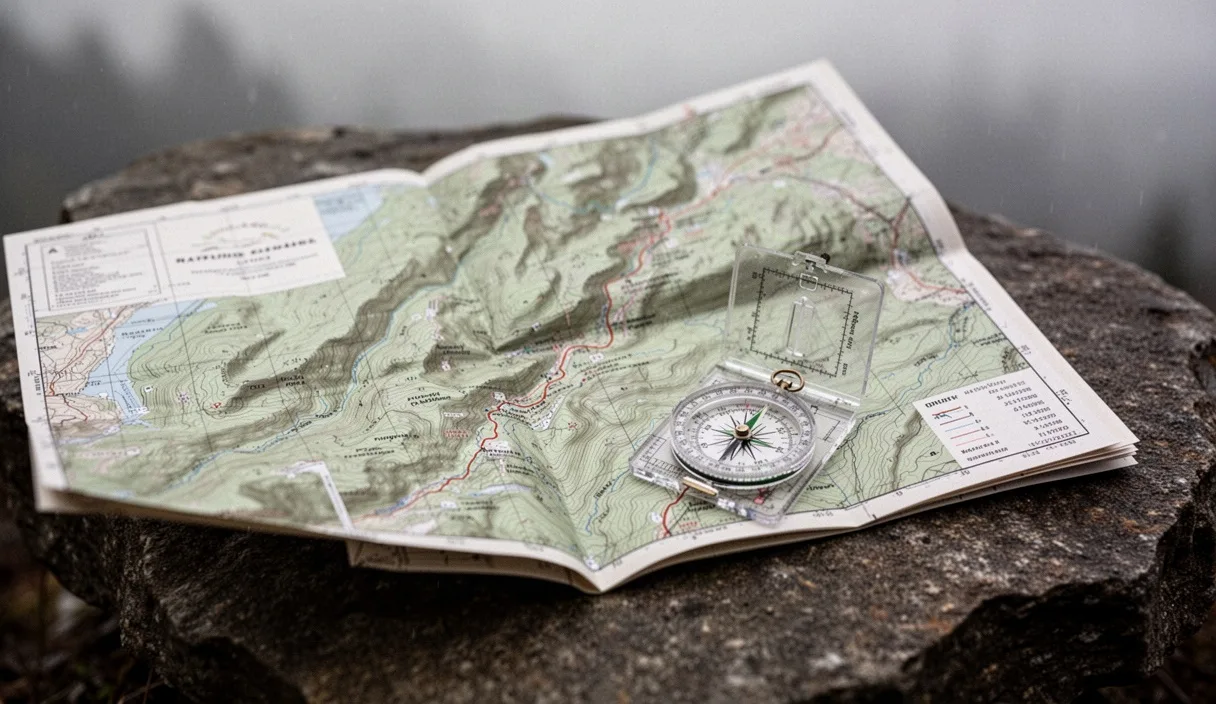
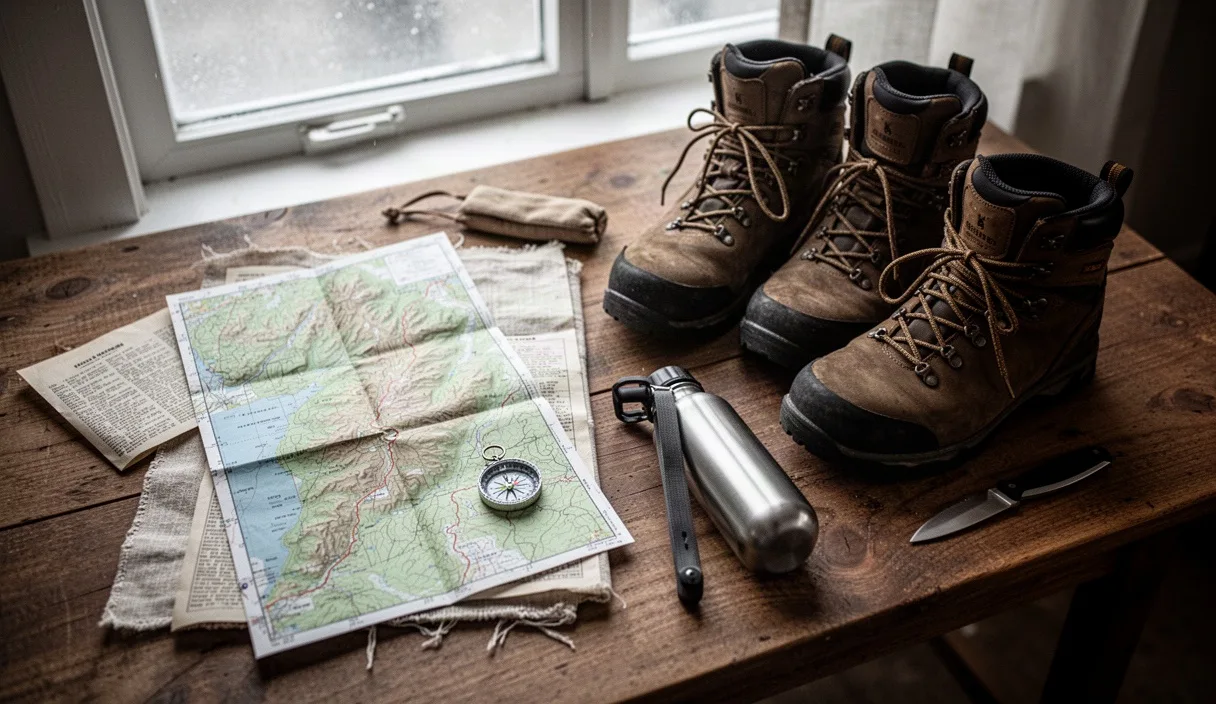
Carry a 1:24,000 or 1:50,000 topographic paper map of the area. Store it in a clear, waterproof map case or a clear zip-top freezer bag. Protect your map from abrasion inside the pack. Ensure the map shows contour lines, reliable water sources, secondary escape trails, and trailhead coordinates. Before heading out, orient yourself to the route: identify the primary compass bearings and prominent terrain features you will pass along the 20 kilometers.
Pair your paper map with an oil-filled baseplate compass. Choose an instrument with a clear baseplate, a rotating bezel with two-degree graduation marks, a magnifying lens for fine topographic details, and a luminous needle for low-light use. Learn how to take a field bearing, adjust for local magnetic declination, and orient your map before setting foot on the trail. Practice these basic map-and-compass skills on familiar local paths long before you face navigation challenges in unfamiliar wilderness areas.
Supplement your paper setup with a standalone GPS device or an offline navigation app on your phone (such as Gaia GPS or CalTopo), set permanently to airplane mode with maps downloaded beforehand. Bring a compact 5,000mAh external power bank and a short charging cable. This small setup weighs roughly 140 grams and provides one complete recharge for your phone, ensuring you retain backup GPS and emergency communication if your hike stretches past dusk.
Common mistakes
The most frequent error on 20km hikes is wearing brand-new or untested footwear. Even top-tier boots or trail runners cause severe blister issues if the upper material and insole have not formed to your feet over at least 30 kilometers of break-in time. Do not test fresh shoes on a long day hike.
Hikers also frequently underestimate afternoon temperature drops. A sunny 18-degree day at noon can plummet to 6 degrees by 5:00 PM if cloud cover rolls in or elevation increases. Leaving your hard shell or thermal layer behind because the trailhead was warm exposes you to hypothermia risk if a twisted knee slows your pace to two kilometers per hour.
Another common mistake is placing heavy items at the bottom or outside edge of your backpack. Loading heavy gear far from your spine pulls the pack backward, forcing you to lean forward, straining your neck, trapezius muscles, and lumbar spine over 30,000 steps. Pack dense items high and close against your back.
Next steps
Lay out every piece of gear on a flat floor and check off each item against your route requirements. Review the elevation profile and terrain classification of your planned 20km route to identify where your steepest climbs and primary water refill spots will occur.
Inspect your hard shell jacket for seam delamination, check your headlamp battery charge, and verify that your squeeze filter runs clean without obstruction. Download offline digital maps to your phone, pack your baseplate compass alongside the printed topographic map, and store everything in your pack using waterproof dry bags or a durable pack liner. Set your departure time early enough to finish the route with at least two hours of daylight to spare.